Friday, October 28, 2011

:: Party Time - ava's halloween party


So, I decided I wanted Ava's Halloween Party to be simple.
I know. I know.
You're dissappointed that I didn't make halloween aprons for all of the kiddos, huh.
{yes, I'm mocking myself}
Anyway, it would be a Halloween breakfast.
I was gonna make pancakes, but that was just stressing me out.
Crazy, huh. Pancakes = stress?
Who knew?
So I just decided to go with a good 'ole fall treat.
Donuts and apple juice.
Yum.
And some yogurt and fruit was also available.
We don't have a ton of money to spend on our parties,
so I try to make do with what we have, find it on clearance, or make it myself.
And guess what? It actually works.
So, I thought I'd give you a run down:

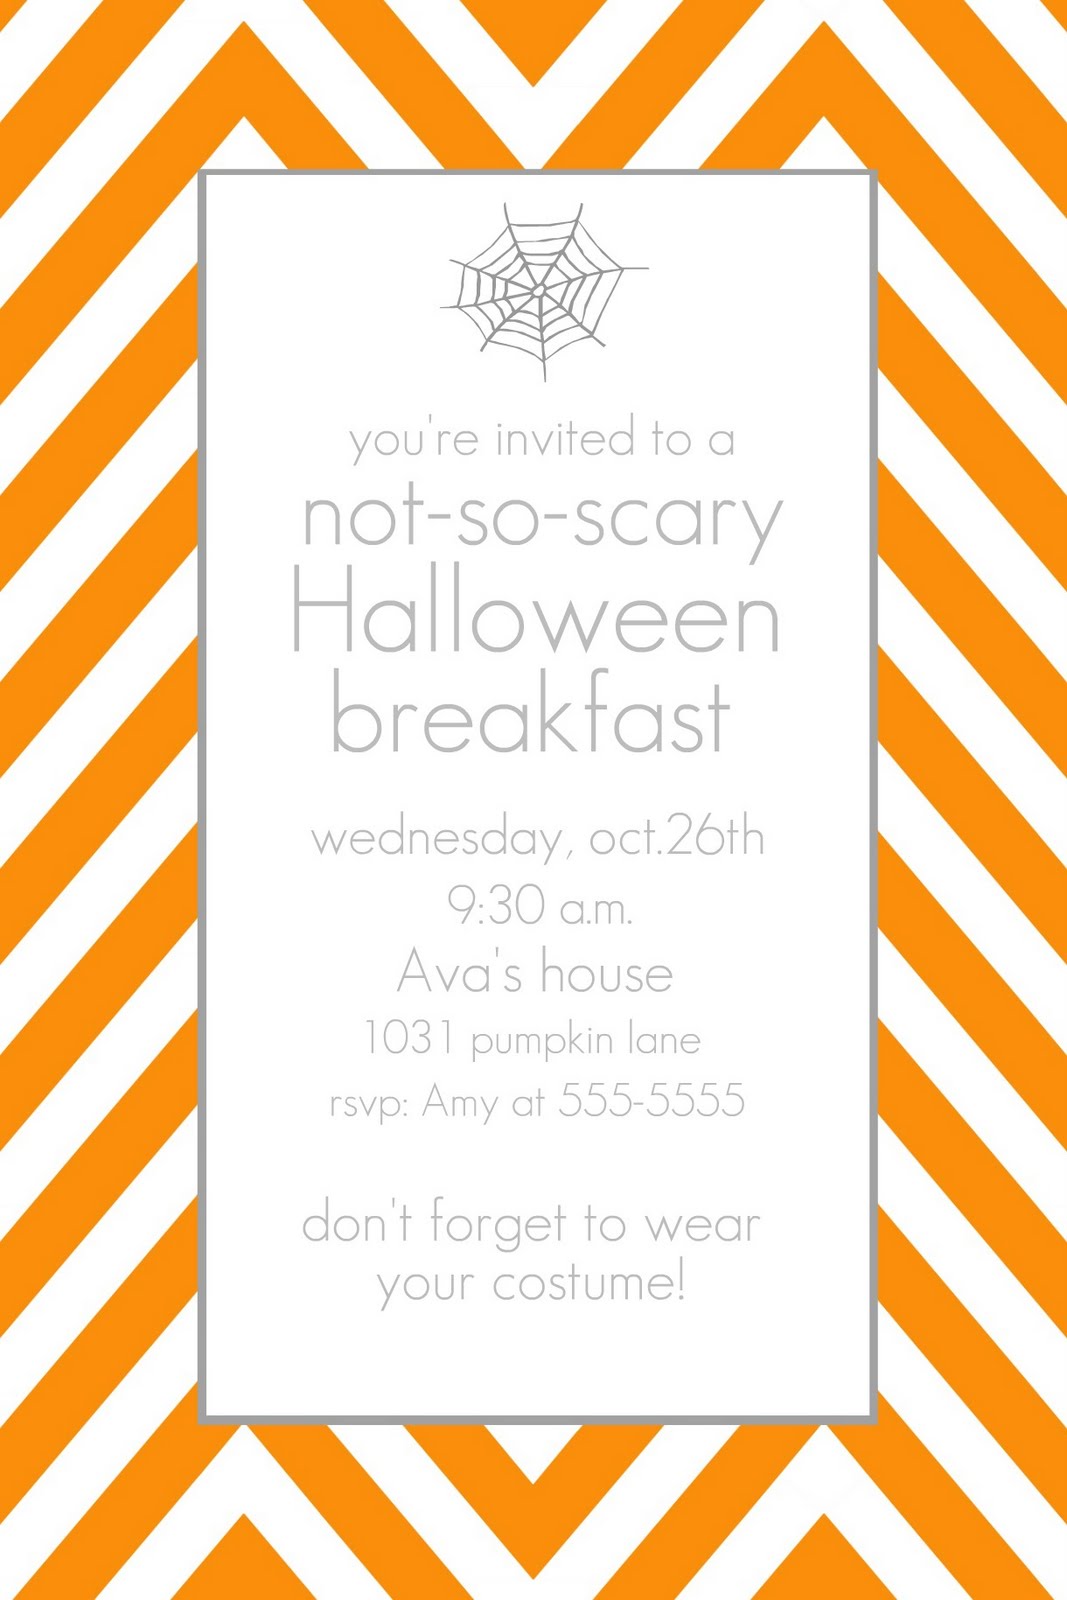
invitations - free (made on picnik.com)
food - total of about $10-$12 (with a ton left over)
black sheets (used as a tablecloth) - bought awhile ago to be used as a photography background (. . . never slept on)
cheesecloth (on top of sheet) - bought awhile ago as a photography prop (comes in packages of 1 or 2 and are cheap)
black cakestands - made a few years ago with thrifted candlesticks and thrifted plates
napkins and plates - bought on clearance for $0.50 a pack
paper pinwheels - seen these all over and decided to do my own little version out of newspaper and cupcake liners I already had (to go with the grey/orange theme of course)
ikea glasses - I've used these for almost all of my parties cause if one breaks, it's not a big deal ($1.50 for 6 of them - - I even let the kids use them . . . while the parents are usually silently freaking out - I try to have sippy cups available though)
paper straws - found a good deal on them awhile back in grey, turquoise, pink and red (so, I try to plan my parties with at least one of those colors so I can use them - weird? possibly.)
witches cauldron and goodie baggies - found in the past years' after Halloween sale so they were super cheap
So there you go.
Who said parties had to be expensive?!
I know mine aren't.
But they're still enjoyed.
And that's all that matters.


Here's a picture of the girls before the party.
Reese's costume isn't finished so she wore this cute halloween-y outfit.
{Ava was trying to keep her still so we wouldn't have a blurry picture - -
love my photog assistant}

Did you have a Halloween party?

I'll be linking to these parties here.

Thursday, October 27, 2011

:: Deliciousness - pumpkin chocolate chip cookies

I make these cookies every Sept/Oct/Nov.
Why do I do this?
Because they're delicious.
And these darn things are always calling my name.
Years ago I found this recipe.
{Laura Seitz from the Deseret News}
And I've decided I need to make these year round.
They're that good.
So try it.

Pumpkin Chocolate Chip Cookies
1 c. sugar
1/2 c. brown sugar
1/2 c. margarine
2 beaten eggs
1 c. pumpkin
1 tsp. vanilla
2 1/2 c. flour
1 T. baking powder
1/2 teaspoon salt
1 teaspoon cinnamon
1/2 teaspoon nutmeg
1 c. chocolate chip cookies

- Cream sugars and margarine in mixing bowl. Add eggs, pumpkin, vanilla and stir together. Mix in dry ingredients. Then stir in the chocolate chips. Drop by tablespoonsful on greased cookie sheet. Bake in preheated 350 degree oven 12-15 min or until lightly browned.

** I usually bake mine for 15 min, store them in a container overnight and then they are yummy and moist the next day.

You can thank me later.

I'll be linking to these parties here.

Wednesday, October 26, 2011

:: Family Happenings - Halloween costume


We had a little Halloween party today
for Ava and her friends.
They had a lot of fun!
You can obviously see that Ava was a Dalmation.
She loves her costume.


Can you guess what Reese will be?

Monday, October 24, 2011

:: Last Minute Halloween Card


The other day, I was looking at the blog, The Busy Budgeting Mama. {love it!}
and found this adorable Halloween card.
How creative and cute is this!
I decided to make my own card {using picnik.com}.
And I happend to have all the other supplies around the house.
{yes . . . I'm addicted to the chevron}
I finished it in under 30 minutes.
I think their grandparents need to receive some cute Halloween cards from their granddaughters that miss them so much.
Natalie shows you the tutorial here.
I think they turned out pretty cute!
I showed Ava the finished product and she was head over heels in love with them!
She wouldn't stop playing with them.


So, you still have time!
Get these done and off in the mail!
I'll be linking to these parties here.

Friday, October 21, 2011

:: Family Happenings - park days

We don't take advantage of our beautiful, sunny days as often as we should.
So, yesterday when it was nice outside, I surprised Ava by having a picnic at the park.
She loved the idea.
Reese loved it too.
{As long as she had those keys in her hands.}


Thursday, October 20, 2011

:: Pinterest Pretties


:: awesome quote.


:: have peaches in the fridge right now. i'll have to make this.


:: I am TERRIBLE at sending out birthday cards! maybe this will help me.


:: no sew ruffle tree skirt. love it.


:: burlap and lace dessert table. uhh . . . gorgeous. this would be perfect for a Thanksgiving dessert table.


:: this WILL be in my dream home - - a hidden pantry


:: cute trick or treat bag! maybe I'll make it next year.

Wednesday, October 19, 2011

:: Picnik Tutorial - halloween invitation

Today I'll be showing you how to make this
cute, modern halloween invitation using www.picnik.com.
And it really is easy!
(or I probably wouldn't be showing you how to do it)

If you've been following me for awhile, you know I love picnik.com
Love that it's free.
Love that it's easy to work with.
I do have photoshop, but am still learning how to use it.
So in the meantime, I'm using picnik for the invite's I've made.
1. First go to picnik.com and upload some type of digital paper. I used the paper from here. (I have more free printables on my pinterest board here)
Just download to your computer and when you get to picnik, press "upload a photo" and choose the digital paper you want.

2. Once you upload it, your paper will be shown like this.
Now you just need to crop it to the size you want.

3. To the left of the screen, there are a bunch of edits. Go to "crop" and choose the size you want. (I chose 4x6) Then press "apply" (FYI: if you ever make a mistake, you can always press the "undo" button in the top right hand corner).

4. See the top white tab that says edit? Underneath it there are different things you can choose. Go to "stickers". A bunch of stickers will show up and choose "geometric". Click which shape you want and it will show on the screen, small and black. You can adjust the size and the color (in the box at the top right corner).

I chose the rectangle and made it grey.

5. Enlarge it.

6. I then chose another rectangle sticker and made this one white and fit it into the grey rectangle so now there's just a grey frame.

7. In the sticker section, they have a bunch of holiday stickers. I went to Halloween and chose a not-so-scary sticker.

8. I changed the size, color, and location.

Then under the white "edit" tab, go to "text" and write what you want.
(I used the GeosansLight font - love it)

9. Looks good! Just need to save.

10. Go to the white "save and share" tab at the top and press "save photo".
Now just print.
Yay! You're done!
That wasn't hard, right?

I know I'm not the best at explaining things,
so if you have any questions, please let me know!
I'll be linking to these parties here.