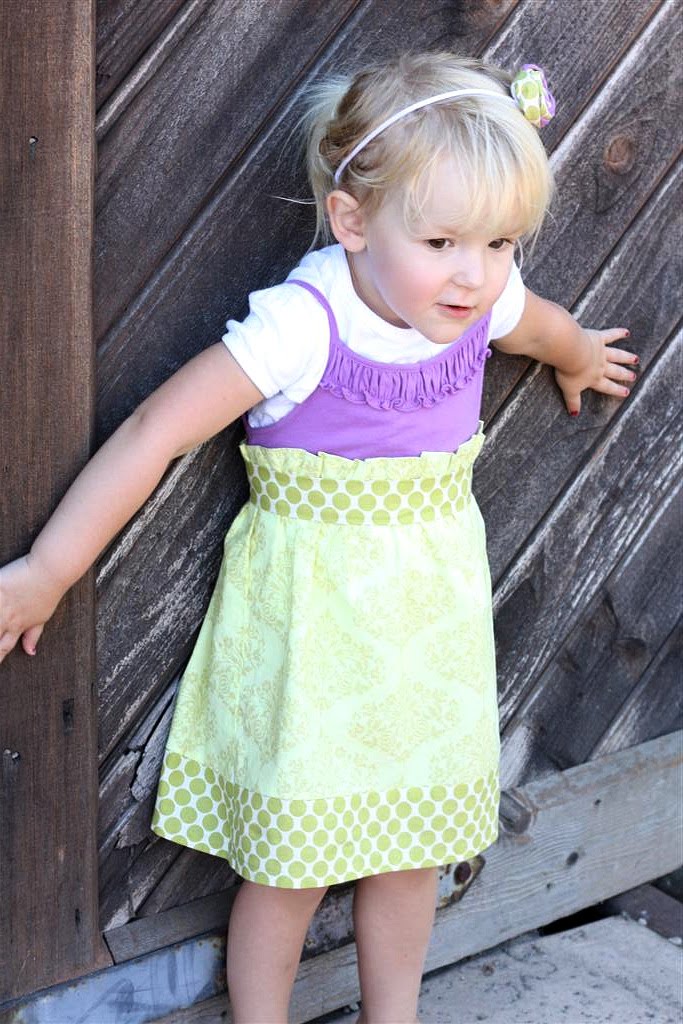
Last week I made a
cute dress for Ava using a clearance
tank top ($2.80 - - what a deal!) and some
material I had on hand. It took me less than 2 hours to make. Very easy. The supplies you'll need are:
1. tank top or a blouse
2. material and/or coordinating material
3. sewing machine
I made this for a 3T. The measurements I used are as follows:
main skirt piece: 37.5 in. x 12.5 in.
bottom skirt piece: 37.5 in. x 4 in.
belt: 32 in. x 3 in.
All I did was measure the
circumference of the skirt bottom of one of her 3T dresses and the length of it, so that's how you figure out how much material you'll need (even if you want to make an adult size).
1. After cutting your material to the correct measurements, sew the bottom of the main skirt piece to the top of the bottom skirt piece. Make sense? Leave about a 1/4in. seam allowance.
2. Once you sew them together, finish off that seam by using a zig-zag stitch or using your oh so fabulous serger (one day I'll have one . . . . sigh.).
3. Then fold over the top of the main skirt piece about 1 in.,(wrong side to wrong side) like so in the picture below, and pin.
 4.
4. Then you'll want to do two
basting stitches at the bottom of that fold so that you can gather it. After doing the basting stitches,
gather.
 5.
5. After gathering the fabric (with it inside out), place around the tank top to figure out how much gathering you need,
pin in place (not on the tank top yet), and then
sew down the skirt piece, while leaving a 1/2 in. seam allowance. Zig-zag or serge the edges.
 6.
6. Now's the time to
sew the skirt to the tank top. Your skirt piece should fit around the tank top because you already measured it in the previous step, so all you need to do is
pin it around the tank top.
7. Now, very carefully, sew the skirt to the top. I had my left hand inside the skirt piece making sure I didn't sew something that I didn't want sewn.
8. Almost done. You just need to finish the very bottom of the dress.
9. I folded the bottom part of the dress under 1/2 in and then again 1/2 in and pinned together. Then sewed across.
10. Now you just need to make a belt for it! Without the belt, it does look a little moo-moo-ish. The belt just brought everything together.
I love how it turned out! And of course I had to make a fabric rose for her hair.

I'll be
linking to the link parties at the end of this page. Check them out!
Thanks for stopping by! If you do use this tutorial, send me a picture. I'd love to see your creations!


 {2007}