
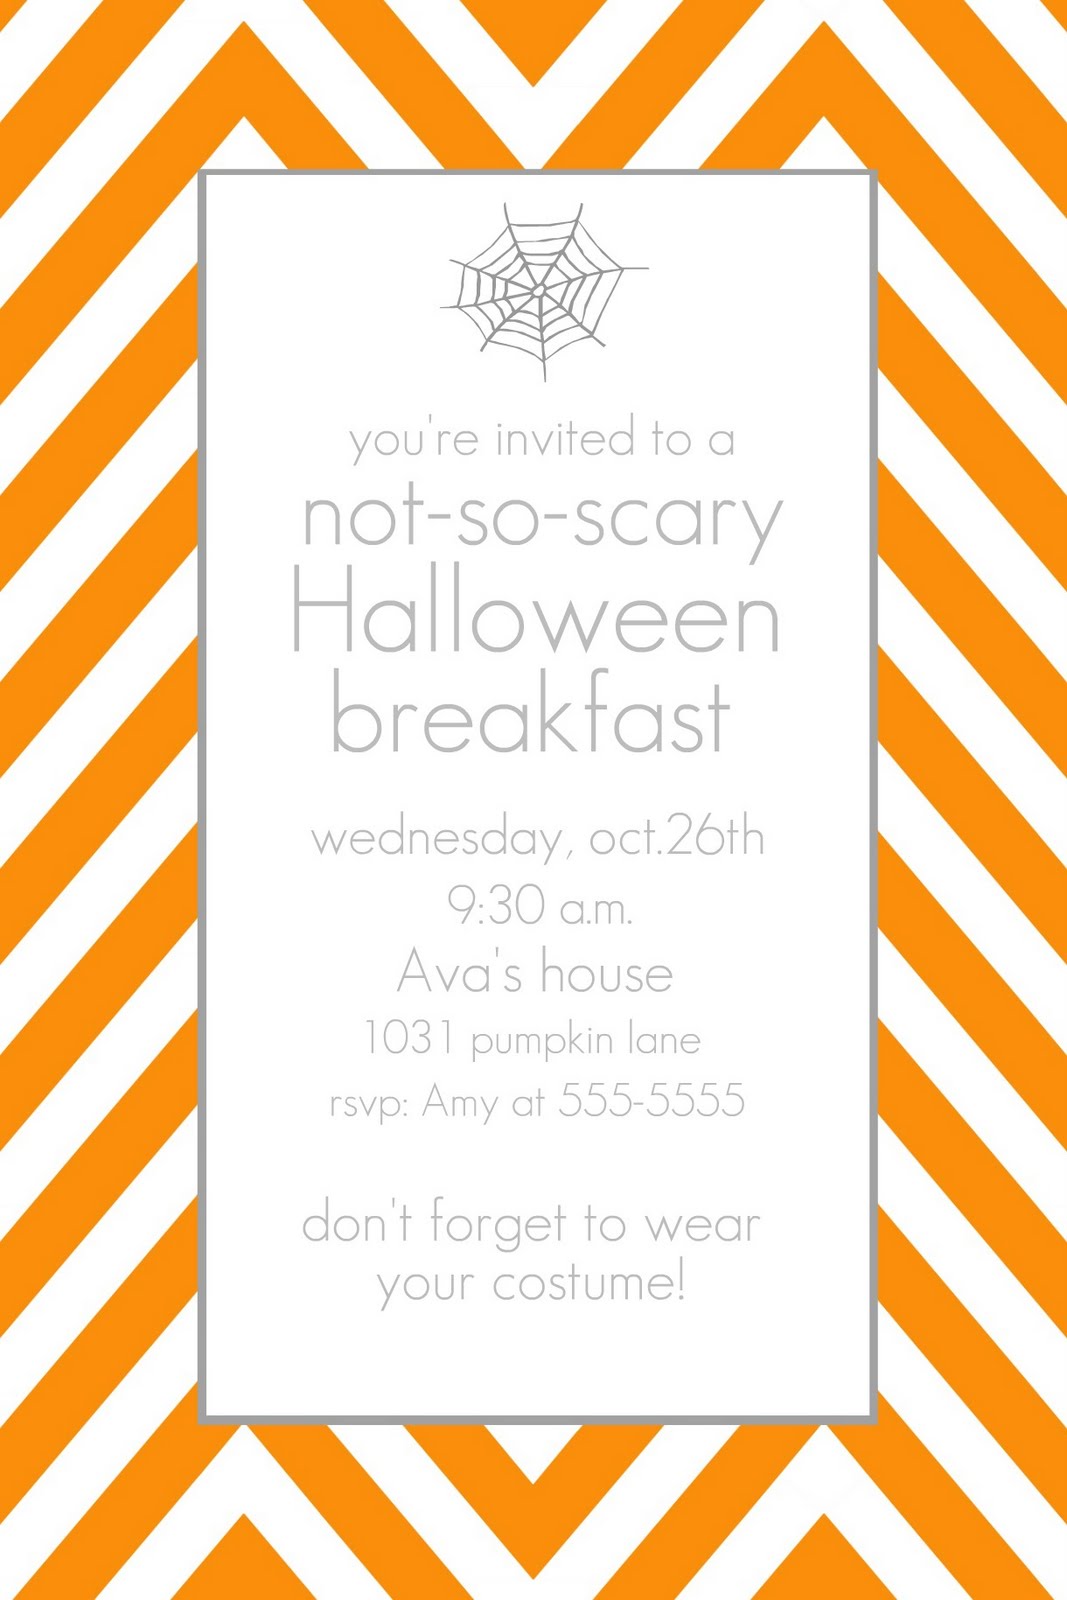
Today I'll be showing you how to make this
cute, modern halloween invitation using www.picnik.com.
And it really is easy!
(or I probably wouldn't be showing you how to do it)
If you've been following me for awhile, you know I love picnik.com
Love that it's free.
Love that it's easy to work with.
I do have photoshop, but am still learning how to use it.
So in the meantime, I'm using picnik for the invite's I've made.
1. First go to picnik.com and upload some type of digital paper. I used the paper from here. (I have more free printables on my pinterest board here)
Just download to your computer and when you get to picnik, press "upload a photo" and choose the digital paper you want.

2. Once you upload it, your paper will be shown like this.
Now you just need to crop it to the size you want.

3. To the left of the screen, there are a bunch of edits. Go to "crop" and choose the size you want. (I chose 4x6) Then press "apply" (FYI: if you ever make a mistake, you can always press the "undo" button in the top right hand corner).

4. See the top white tab that says edit? Underneath it there are different things you can choose. Go to "stickers". A bunch of stickers will show up and choose "geometric". Click which shape you want and it will show on the screen, small and black. You can adjust the size and the color (in the box at the top right corner).
I chose the rectangle and made it grey.

5. Enlarge it.

6. I then chose another rectangle sticker and made this one white and fit it into the grey rectangle so now there's just a grey frame.

7. In the sticker section, they have a bunch of holiday stickers. I went to Halloween and chose a not-so-scary sticker.

8. I changed the size, color, and location.
Then under the white "edit" tab, go to "text" and write what you want.
(I used the GeosansLight font - love it)

9. Looks good! Just need to save.

10. Go to the white "save and share" tab at the top and press "save photo".
Now just print.
Yay! You're done!
That wasn't hard, right?

I know I'm not the best at explaining things,
so if you have any questions, please let me know!
I'll be linking to these parties here.

So adorable! Thanks for sharing!
ReplyDeletethat's pretty awesome and such a good idea!! i'm going to have to keep this in mind when making invites now for an occasion!
ReplyDeleteThis is a great tutorial and a fun way to create personalized invites. I am a new follower from Making It With Allie. Vicky from www.messforless.net
ReplyDeleteThis is such a cute idea! How creative.
ReplyDeleteNew follower here. I saw you at What Allie's Making. This is just brilliant. I have picnik and am so happy I came across this. Had no idea the possibilities. Thanks!
ReplyDeleteThank you that is a great tutorial and adorable invite!!! Where did you get your paper from?
ReplyDeleteThank you for this! Love it!!
ReplyDeleteI love this! I use picnik ALL THE TIME and I often put tutorials on my blog using them as well, but this one is sooo cute, it makes me want to throw a halloween party just to make it!
ReplyDeleteThanks for sharing!
(and love the orange chevron!)
This is a great tutorial and I love the chevron!! TFS!! I am stopping by from Sundae Scoop linky party and your newest follower.
ReplyDeleteThis is what I shared this week: http://craftybrooklynarmywife.blogspot.com/2011/10/knitting-and-loving-it.html
I have used picnik, but you made a few things clearer for me. Thanks!
ReplyDeleteOh, this is so helpful - thanks!!
ReplyDelete